
I wrote earlier about the fold down table made for the rear deck area. The table works fine, always available and out of the way when not in use. However it is not very big. Thus when Patricia does a full meal there is not enough room for everything on the table. The table cannot be made larger without making it much less convenient, or at least I could not figure out a way to make it larger and convenient. (By the way isn’t working on problems like this one of the fun aspects of boating.)
Eventually I began working on the design for a small – call it a holding tray- that would be attached to the side railing and hang mostly overboard. I envisioned the tray being used more for snacks than meals, and hanging it overboard would maximize space for deck chairs when guests are on board.
A tray was made of 1/2″ Starboard with aluminum fiddles around the outside edge. The shop CNC’d some units from 1″ UHMW to attach the tray to the rail. Next was the support to keep the tray level. Using stainless steel rod I fashioned some supports that were attached to the underside of the tray and rested on the fiberglass walls of the aft deck. It did not work. Nor did the second configuration or the third or the fourth.
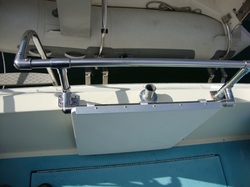
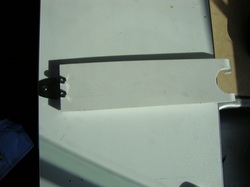
This is the rail where I first tried to mount the tray.
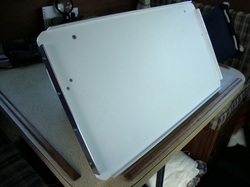
The tray.
The original rail clips and locking tabs could still be used, it was the support system that did not work, leaving many unused holes in the underside of the tray.
”Patricia, you will have to live with what you have.” At which point she started using the boarding step to handle the overflow of dishes. It worked during the 3 weeks of cruising we got in this year, but…
Then, sitting at the table one day I started looking at the unused flag holder attached to the top of the fiberglass railing. Perhaps I could use the rear rail, along with a folding leg down to the flag holder to prop the table level. The table was already made, with the railing attachments, and a leg could be fashioned from Starboard. The Starboard would need to be bent, something I had never tried before.
After my previous failures I could not wait to get to the shop so I would work with the tools I had available. The leg was cut to size. Leaving lots of extra length as the final fitting would be through trial and error. The U shaped cut was made using a jig saw, at the point of the bend the Starboard was cut part way through with a hand saw and then V’d out using a wood chisel. Starboard is great to work with. I had never worked on it with a chisel, but the V was cut easily with just hand force. The piece was then put in a vice, heated with a hot air gun, and bent by hand. It bent easily, but there was a lot of spring back so it was held in place until it cooled. It cools slowly! I cleaned up all the saw cut edges with a fine rasp. It went quickly and finished smoothly. As I said earlier, great stuff to work with.

The top rail that I would mount the tray to, the flag holder, and the new rail and table previously installed.
The existing table and support leg. The support leg had never been a problem.
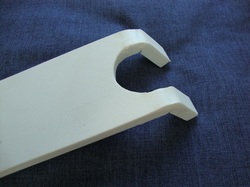
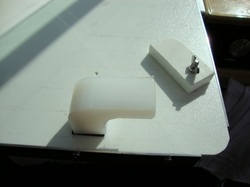
The Starboard support leg, shaped and bent.
Down to the boat to attach the leg to the tray using a stainless steel hinge. The leg had to be cut a few times to get the length that would keep the tray level. And - it works!
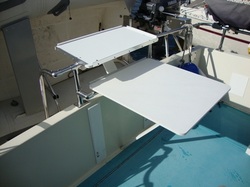
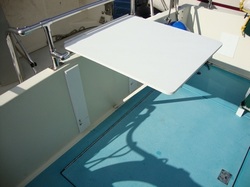
The completed tray in place, a step up from the table.
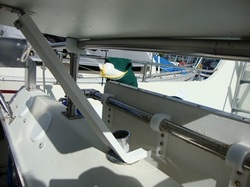
Support leg wraps around the flag holder.
While the table can be left permanently in place, the tray cannot and will have to be stored when not in use. One last problem. The heads of the bolts holding the leg to the hinge prevented the leg from folding flat against the table. I had a large drill bit on board and thought I would try and drill some shallow holes that the bolt heads would drop into. I was concerned that the grabby nature of all plastics like Starboard would pull the drill right through the tray. However with slow speed on the battery drill, and withdrawing the drill every few turns all went well.
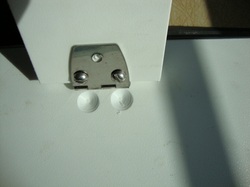
Divots, to allow leg to fold flat.
Leg folds flat against underside of tray.
”Patricia, you should sew a case for your tray so when we stow it nothing gets scratched.”
- Dennis
- Dennis
 RSS Feed