Plasticworks - Plastics, Fiberglass and More
Follow us on Facebook
  • Home
  • AC adapters
  • Locations
  • Products and Services
  • Covid-19 Shields
  • Gallery
  • Fiberglass
  • Links
  • Graham's Blog
  • Dennis's Blog

Ponding Water on Cover

6/14/2013

 
Ponding Water on Cover

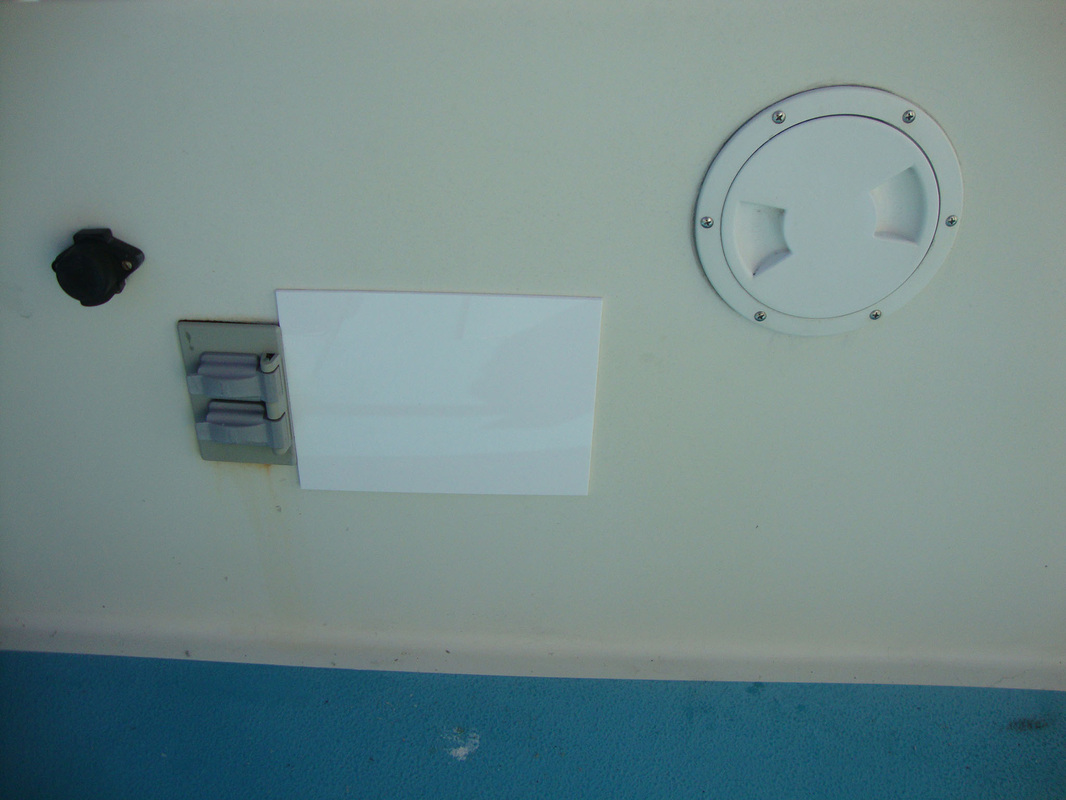
Here on the wet coast, even in summer, it rains regularly.  A previous blog showed how I dealt with ponding water on my winter cover using posts and plastic plates.  This is the same approach applied to the summer cover, however here rather than plastic plates I used fiberglass.  A panel of fiberglass was fabricated by doing a layup on melamine and then using a jig saw to cut it to shape.  The actual piece of fiberglass I used was left over from a previous job, but you can see pictures of the technique used in my blog write up on making a new entry door.

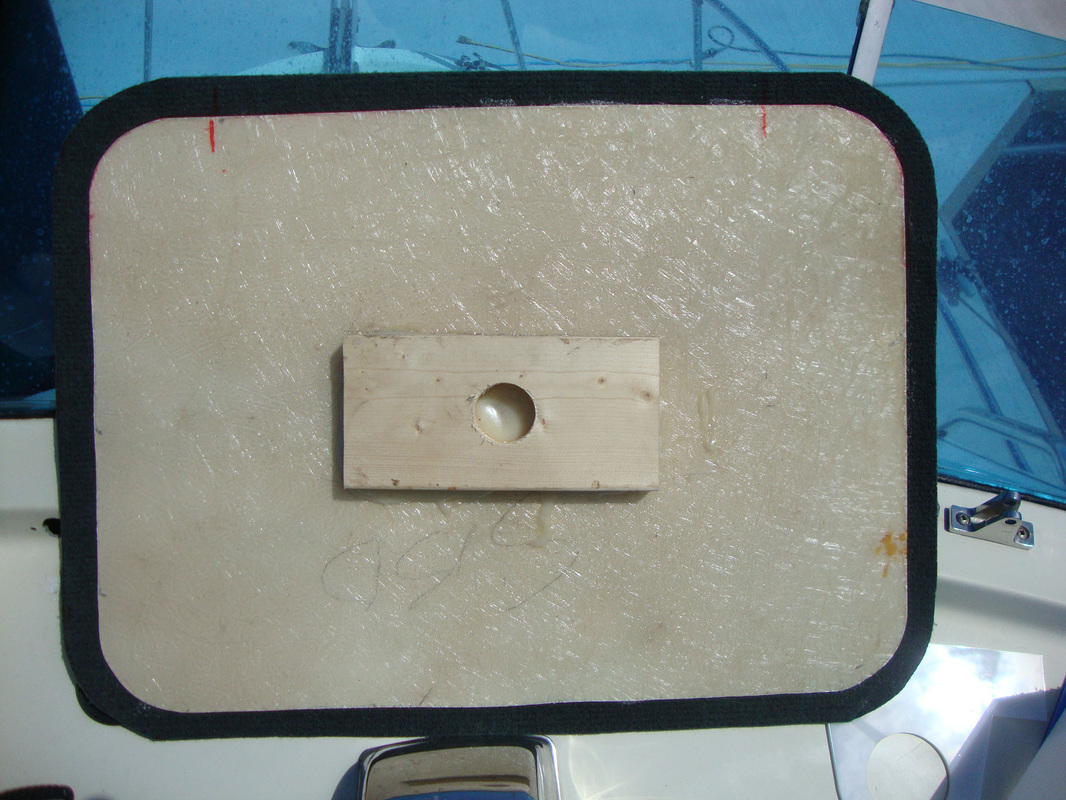
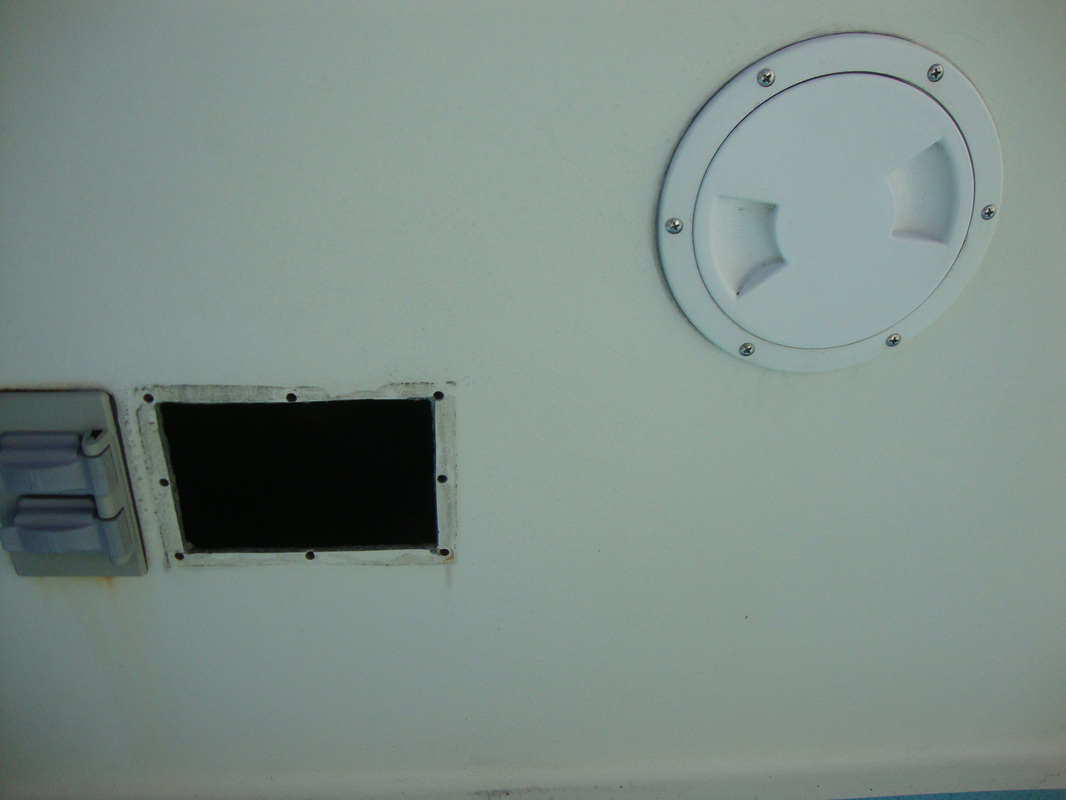
On one side of the fiberglass plate I glued a square of carpet, somewhat larger than the fiberglass.  This would prevent the hard edges of the fiberglass from chewing through the canvas cover.  On the other side of the fiberglass I glued a block of wood with a hole in it using epoxy.  The wooden hold up rod would go into the hole in the wooden block.

Picture
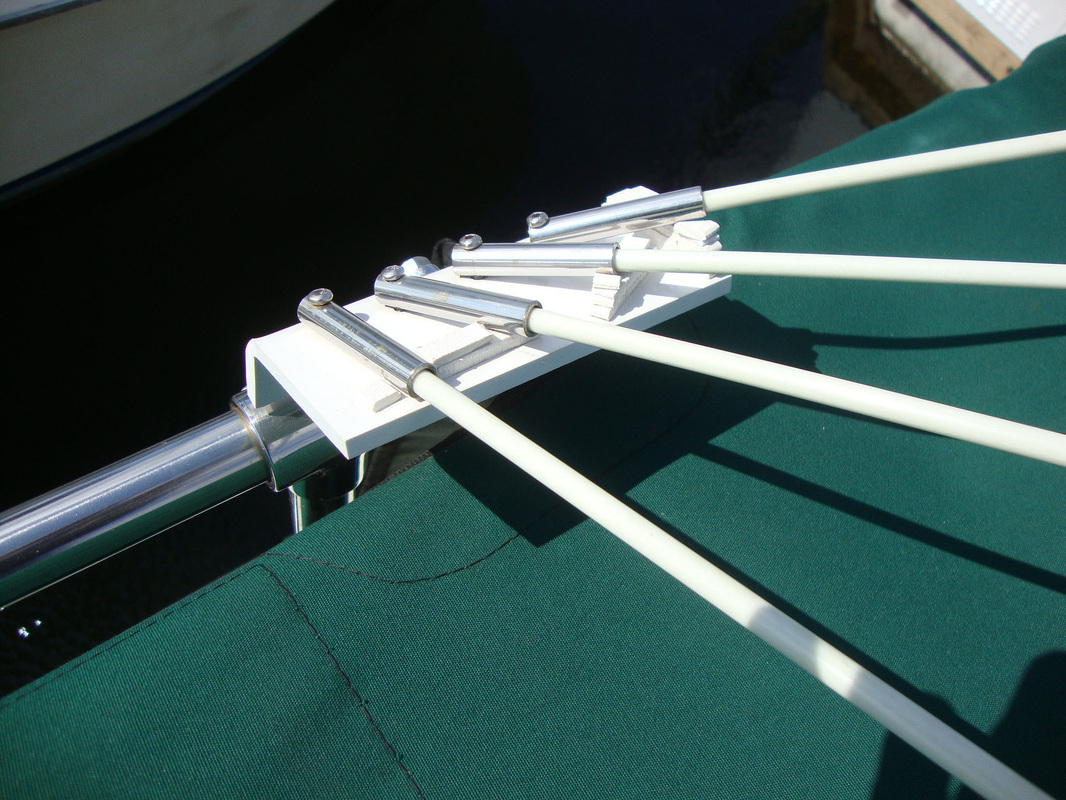
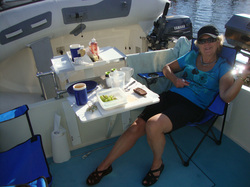
The steering seat on the upper deck lifts off quite easily, and the pedestal it sits on is a hollow tube.  Thus I can just remove the seat and store it on the deck, drop a wooden rod into the seat holder, put the fiberglass plate on top of the wooden rod and zip up the cover.  The cover now has slope to shed the rain and prevent it from ponding.
Picture
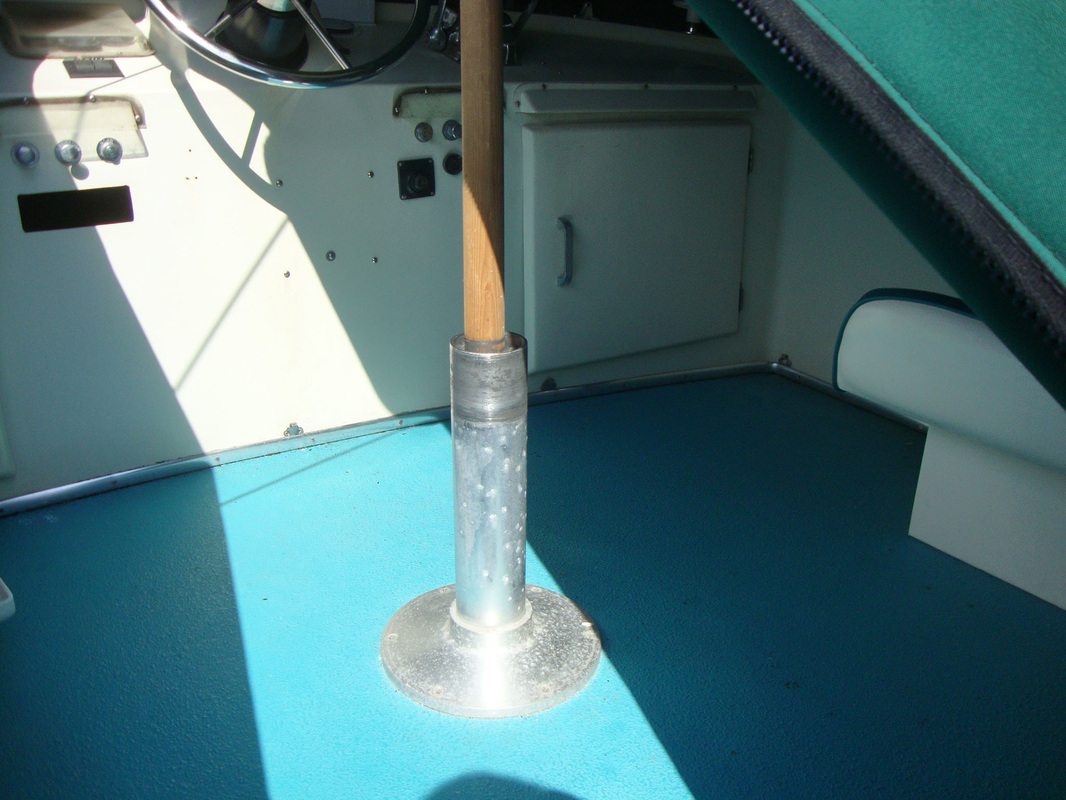
Wooden hold up post sits in the pedestal that normally holds the upper helm seat.
Picture
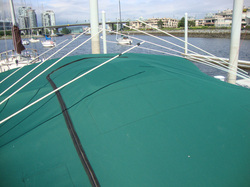
The result, a nicely sloped cover that sheds water and prevents water from ponding.

Bird Wars, Continued

6/14/2013

 
Bird Wars, Continued

A previous blog entry detailed my attempts at keeping the birds off my upper cover.  My K.I.S.S. solution detailed in that write up worked, but I was never totally satisfied with it as storing the long rods with the plastic blocks was not easy, they had to go inside the cabin at the edge of the forward berth.  So this is the latest version of what I now call my “Bird Away” system.

I began with a small piece of 1/4” white ABS plastic, which I bent at an angle, at home, using a heat gun.  The ABS just slips into the unused bimini cover holders, drill a hole, put in a bolt and the ABS is locked in place.

Next I purchased a short section of 1/4” ID stainless tubing.  I cut the tubing into sections about 2.5” long, drilled a hole in the end, and using small bolts attached the tubing to the bent ABS.  The idea was to position the tubes at a fore and aft and upward angle, so that when a fiberglass rod was inserted in each rod it would sit above the cover and keep the dirty birds from landing on the cover.

Long narrow strips of 1/8 and 1/16 thick ABS were cut from scraps.  These were then cut into short pieces and used as shims to position the metal tubes at appropriate angles.  The shims were glued to the ABS base, and to each other using methylene chloride, but ABS plumbing cement would also work.
Picture
The holder bolted to the rail fitting, with all the bits and pieces.

The fiberglass rods were then inserted into the tubing and cut to length to give a fan effect providing a sort of canopy over the cover.  This has proved very effective in keeping the birds off.  It has not been necessary to fasten the fiberglass rods to the metal tubes, they just slip in and none has ever worked its way out.  This makes removal easy.  I just pull the rods out and store them on the upper deck between the seats and the outside edge.  The rod holder remains bolted to the upper rail and only needs to be removed when the winter cover goes on.

Picture
The finished “Bird Away” system. Note the lack of sea gull droppings!

(Another) Cover Up

6/14/2013

 
(Another) Cover Up

Picture
This is part of the console of the upper helm station of Morning Star, my 26’ Tollycraft. Shown here is the depth gauge which I installed some time ago and holes from installs done by previous owners. I assumed the depth gauge was water tight, it is not. Returning recently in the rain the gauge began to malfunction, but luckily returned to normal when it dried out. Time for a cover up, and while I am at it why not cover up the ugly holes in the vicinity.

What I came up with was a plate which would go under the depth sounder and cover up the screw holes. A water proof cover would then go over the sounder and be glued to the plate. To cover the hole in the vertical step in the dash I would mount a box on the stepped up part of the dash, and the front of the box would come down below the bottom of the box to cover up the hole in the vertical step. The front of the box would come down to, but not be joined to, the plate under the sounder.
Picture
Here is the plate, in position under the depth sounder.
Picture
Box is positioned, held permanently in place with double sided tape.
Picture
Front of the box has now been glued on with methylene chloride, only the water proof cover for the gauge needs to be installed. Water proof cover is a ring of black plexi, with a clear plexi cover, that will be glued to the base under the depth sounder.
Picture
And here is the completed project. Depth sounder now protected from the elements, holes covered up, and as a bonus a box for drinks, note book, pen, cell phone or whatever.

Cover Up

6/14/2013

 
Cover Up

For a long time I have had a hole in the port side of my aft deck. The previous owner had installed a steering wheel and related hardware in this area – he must have been a very avid fisherman who wanted to steer the boat without leaving the aft deck. I had earlier installed a circular access plate where the steering wheel was, but I was waiting for inspiration on what I could do with the nearby square hole.
Picture
This is what the side wall looked like before the cover up.
So, lacking inspiration, I decided just to cover up the hole. I just cut a piece of 1/8” sign white plexi, bull nosed the edges, applied double sided tape to the back of the plexi and pressed into place.
Picture
And this is what it now looks like.
While it seems like the plexi stands out I can guarantee you that no one except an experienced boater will notice it. No one has yet commented on the hole that was there.
Picture
If you look carefully its just behind the chair on the right.

    About Dennis

    Dennis Facer is the father of Greg and Graham Facer (who run Plasticworks).  He is occasionally retired but loves to spend time working on this or that.  You can often see his projects or the results out at the shops.

    These are some of his projects.

    Archives

    July 2023
    March 2023
    December 2013
    September 2013
    June 2013
    August 2012
    March 2011
    June 2010
    November 2009
    March 2009
    December 2008
    December 2007
    November 2007
    July 2007
    June 2007
    February 2006

    Categories

    All

    RSS Feed

Need it Shipped?

We ship sheet goods and fabricated products all over the lower mainland and southern BC.  As well, we ship our brochure holders and Velcro® Brand products all over Canada.  If you can't make it in, give us a call and we'll work out a great shipping price to get what you need to you when you need it.