Getting Organized
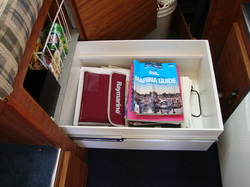
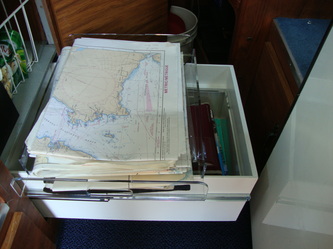
Under the forward seat of the dining area on my boat is a locker, a cupboard. It is a good size, but it is difficult to access anything in the back. Thus one of the first things I did was to install a drawer in the lower half of this locker, the upper half being accessible by lifting the seat. Now I could pull out the drawer and have access to the far reaches of the locker. This became the designated area for storing navigation charts, oversize cruising books (that would not fit on my bookshelf – see previous blog entry) and manuals. It became annoying to have to remove the cruising books to get at the charts, pull out the chart I needed and then replace the books. (Even with GPS I always keep the relevant chart handy.)
So while sitting at anchor in Garden Bay at Pender Harbor I went looking for the chart for Smuggler’s Cove and thought – I can improve this system.
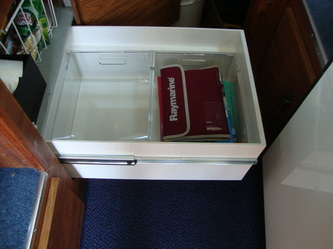
The way it was, books on top, charts buried below. The little lip on the inside of the drawer is to strengthen the sides of the drawer where the drawer sliders are attached. I can make use of that!
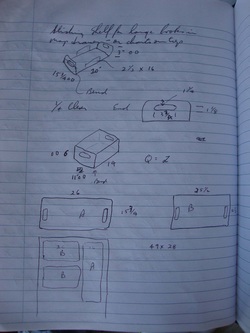
My idea was to make a tray that would sit on the lip at the sides of the drawer. I would give the tray hand holds to make it easy to lift the tray out. To contain the books that would sit on the bottom of the drawer I would make another tray. Heck, let’s make two trays.
My idea was to make a tray that would sit on the lip at the sides of the drawer. I would give the tray hand holds to make it easy to lift the tray out. To contain the books that would sit on the bottom of the drawer I would make another tray. Heck, let’s make two trays.
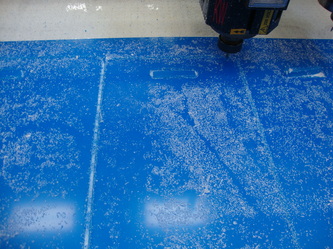
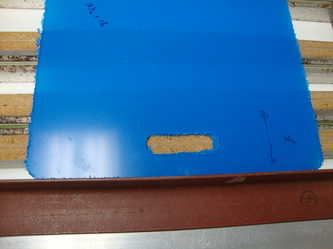
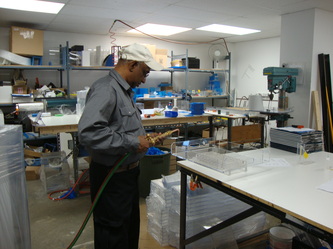
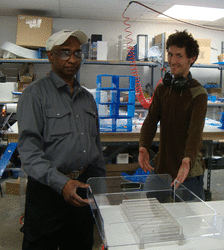
Now days I just give a drawing to Alex, our CNC man, and he programs and computer cuts the pieces. The pieces will be cut from 1/4” clear acrylic (plexiglass). I know I said I make the trays, but really I give the pieces to Jay, our Sri Lankan, Canadian lead fabricator, and Jay does the assembly. By the way Jay is a true sailor, having worked for many years on ocean going freighters, and literally having sailed the seven seas.
The computer cut pieces are bent, the sides are solvent welded on, the units are dressed up by flame polishing with a hydrogen/oxygen torch and voila!
The computer cut pieces are bent, the sides are solvent welded on, the units are dressed up by flame polishing with a hydrogen/oxygen torch and voila!
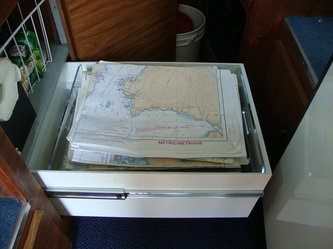
And how did it all work out – great! One of the bottom trays holds all the books, leaving the other tray soon to be filled, which will not be a problem. The top tray lifts out easily, holds all the charts with room for a few more, is a big organizational improvement, and looks good to boot. A thing of beauty and a joy forever! Hey it’s my blog and I can wax poetic if I want.

 RSS Feed