New Console
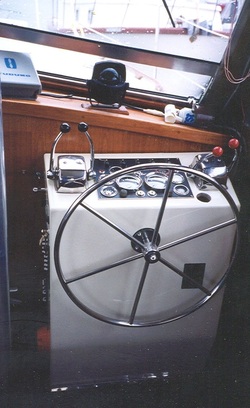
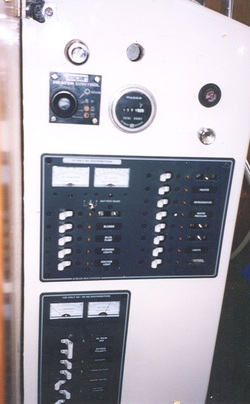
This is reaching back in time to my previous boat, a 36 ft. trawler. This was an older boat, and while it had received good care over the years parts of it were dated or just plain tired. This was my diagnosis of the lower station console. I wanted a fresh look rather than any change in function. I resolved to build a new console. The console held the engine controls, engine gauges, steering wheel, various other controls and gauges and AC and DC fuse panels.
This is reaching back in time to my previous boat, a 36 ft. trawler. This was an older boat, and while it had received good care over the years parts of it were dated or just plain tired. This was my diagnosis of the lower station console. I wanted a fresh look rather than any change in function. I resolved to build a new console. The console held the engine controls, engine gauges, steering wheel, various other controls and gauges and AC and DC fuse panels.
There really was not the option of changing the size or shape or funtion of the console. It was a question of duplicating it in fiberglass. If you look back, I have an entry discussing reworking the propane system of my existing boat and the method of making a mold. I used the same technique here. I created a female mold of melamine particle board, where the inside of the mold duplicated the outside of the control console. This was a very easy 4 piece mold. Next I used a bondo type product to round the corners inside the mold. That completed the mold. Next I painted the inside of the mold with 2 layers of white gel coat, and once that had cured began laying up fiberglass. I laid in 1 oz mat, followed by 18 oz roving and did this twice (maybe 3 times, I kept no notes). The new fiberglass console was then removed from the mold, trimmed, bondo that pulled away from the mold removed, and the entire unit sanded ready for painting. As an aside here, I get a lot of people working on a project like this who want the gel coat to be the finished surface. It is just not worth the effort. Your mold must be flawless, and for a one off it is just not worth the effort. Further your skill levels are probably just not up to it. To be a fiberglass mold maker requires skills built up over an extended time with much trial and error. There is a reason fiberglass molds are expense and a reason mold makers are reluctant to share the knowledge they have painfully accumulated. Go the paint route and save yourself a lot of heartache. We all know how to sand.
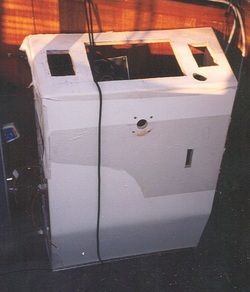
Once the fiberglass console was complete, but before the holes were cut, I attached plywood panels to the inside to the console. The plywood was not fitted to be seamless, it was just 4 pieces of plywood cut to shape, pushed close together, and attached to the inside of the console with thickened epoxy. The fiberglass looks thick in the above picture because of the plywood backing on the inside. The plywood backing was necessary to hold screws from the outside, and more importantly to allow easy anchoring of wires, cables etc on the inside.
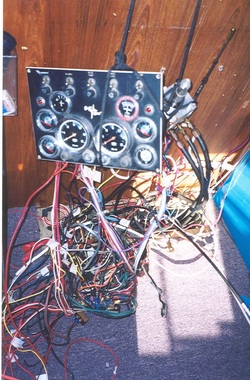
This is the birds nest of wiring and cables that was contained in the console, all had to be sorted out and laid out in some way on the bulkhead or the inside of the console. The heavy cables to the right are the hydraulic steering cables, but I cannot even see the engine controls in this chaos. I love this picture.
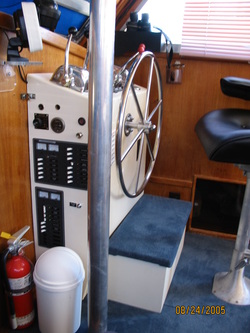
The console finished, fully functional, and dressed up with a matching foot rest. Upholstery of the captain’s chair was changed from white to black, keeping the white clean drove me to drink. Note plexi GPS holder to right, ABS binoculars holder to left, and dark smoked acrylic sliding doors to storage area at bottom. All with material from PlasticWorks. Come see us!
Was it worth it? I think so. The salon certainly looked more modern, and all the old fuses had been upgraded to circuit breakers. And do not underestimate the satisfaction you will get every time you look at a completed project like this. I feel good just reliving it all as I write this.

 RSS Feed