OK, now its time to get itchy! I forgot to ask to get a set of coveralls from the shop and boy did I regret that…
I actually forgot to take any photos of most of the patches I did but then when I was doing one final once over I found a bubble that I had sanded but not patched.
So for bubbles you need to sand out the actual bubble and then taper the hole back about 2 inches all around. I was a little light on the taper and you do see it on the final layer. In fact the big thing to remember is that everything will tansfer to the next layer (ie the finished deck) including the mat strands. So if you are really picky then this is the layer to tackle it.
Anyhow, I’m not that picky.. so here is the bubble repair.
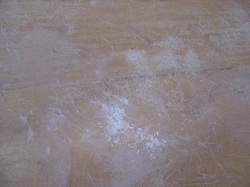
The bubble sanded out. The surrounding area looks like a bubble because the sander roughs it up.
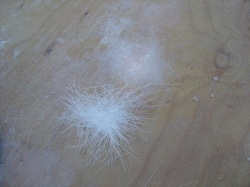
The patch and the bubble side by side (I did a little more sanding first).
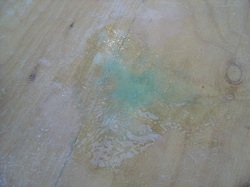
The finished patch that will then need to be sanded flush to the surrounding surface.
Basically any bubble or object can be tackled this way. It is also basically what you do if you need to repair your deck in 15 years.
For ridges you just need to sand it flat.
And then it rained….
Basically any bubble or object can be tackled this way. It is also basically what you do if you need to repair your deck in 15 years.
For ridges you just need to sand it flat.
And then it rained….


 RSS Feed