
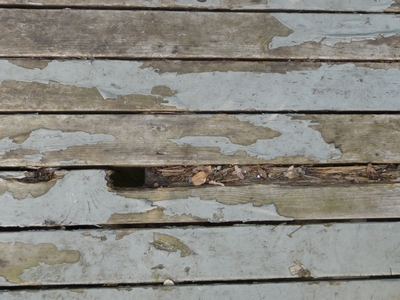
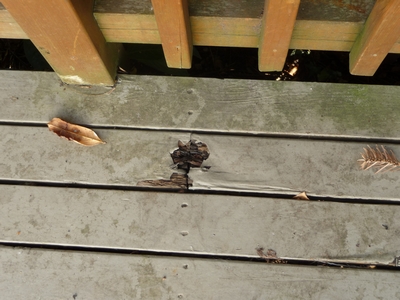
Well its finally time! I have started to Fiberglass my own deck. I started with an old 2×4 (maybe treated) deck that had been painted multiple times. The last layer of paint was put down by me and I sanded and primed and scraped and then it started to peel the next spring.
Who needs that!
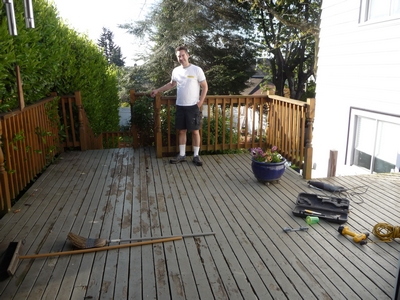
So at that point I knew I needed to go fiberglass (or composite but it was too expensive). In the meantime the family grew from 2 to 4 so I only got to it this year. Here are a couple of shots of the old deck (and my helpers).
Who needs that!
So at that point I knew I needed to go fiberglass (or composite but it was too expensive). In the meantime the family grew from 2 to 4 so I only got to it this year. Here are a couple of shots of the old deck (and my helpers).

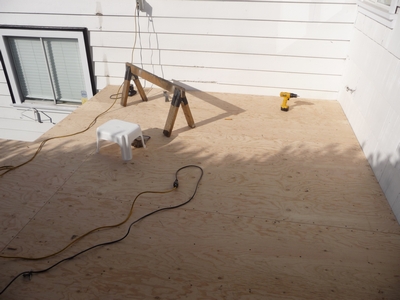
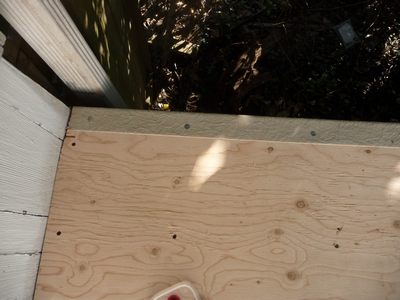
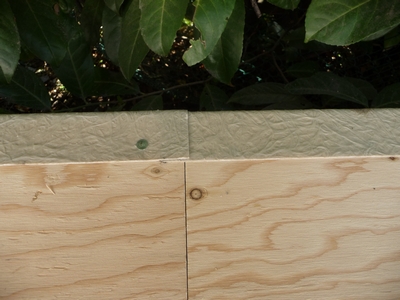
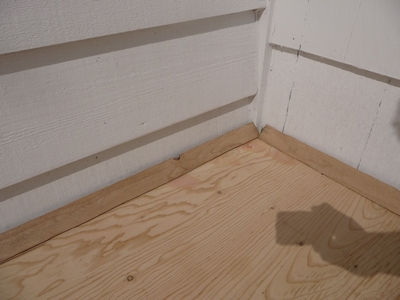
I started by removing the railing (I was not planning to re-use it) and then laid down new 5/8th tongue and groove plywood over the 2×4 deck, trimming off 1 run of 2×4′s that extended past the edge of the deck. You can use thinner plywood if you like but the thicker stuff helps mask any bumps and dips from the original deck
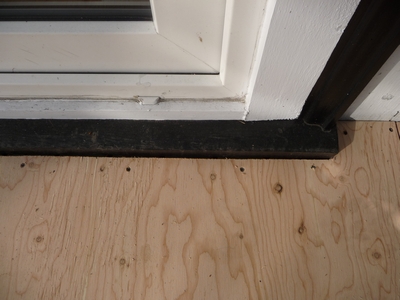
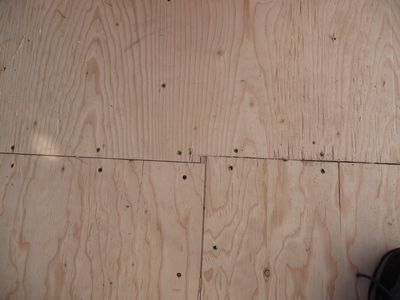
Next, I nailed on the flashing and the cant strip and filled in the screw holes with autobody filler. I did the screws about 5-6 inches apart on the edges and then about 12-15 spaced out on the rest of the sheet. One thing that I tried was adding a little liquid resin to thin down the filler slightly. This allowed a smoother spread along the edge of the flashing. I did the screw holes with un-thinned filler.
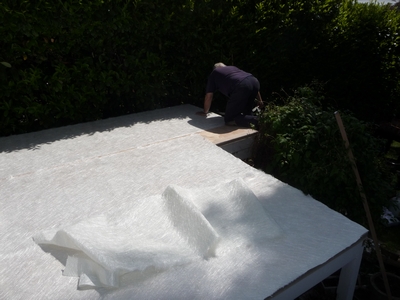
After that we laid out the mat and set it aside as we waited for the filler to harden up fully (its no fun trying to sand filler before its rock hard). The filler was hard enough not to stick to the mat but just not ready to sand yet.

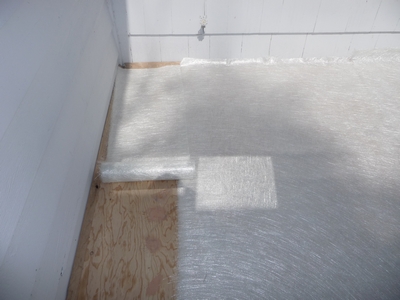
Then we sanded the filler, touched up some missed spots and got ready to layout the mat and saturate it with resin. Dennis (my father) likes to use a paint scraper to knock off high spots. I used a sander with a drywall screen 150 grit but I could have gone coarser – its all I had at that time. Basically any lumps and bumps will either print though to the mat layer or worse, cause an air bubble so take you time to get it level (little divits in the filler are usually OK as the resin will fill them in).
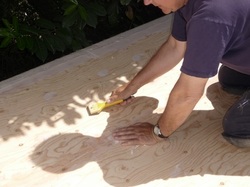
I’ll cover the saturating in the next entry…
 RSS Feed