Plasticworks - Plastics, Fiberglass and More
Follow us on Facebook
  • Home
  • AC adapters
  • Locations
  • Products and Services
  • Covid-19 Shields
  • Gallery
  • Fiberglass
  • Links
  • Graham's Blog
  • Dennis's Blog

Fiberglassing My Deck Part 6

5/29/2009

 
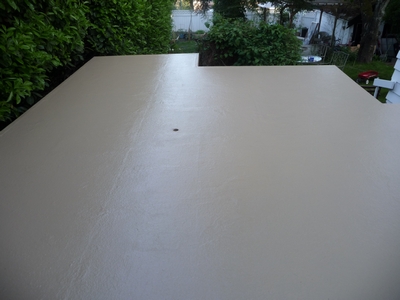
Ok, Finally ready for the moment of truth – Gel-coat!

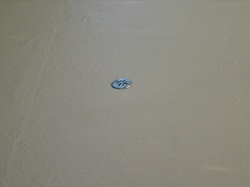
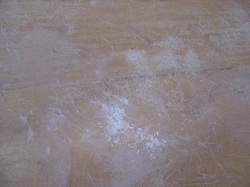
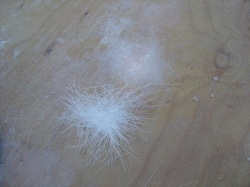
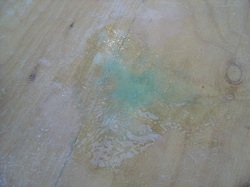
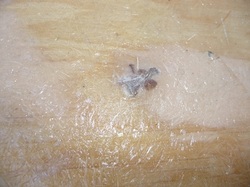
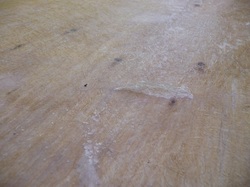
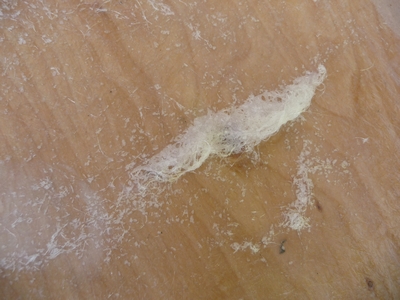
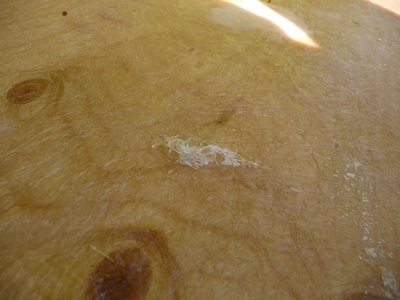
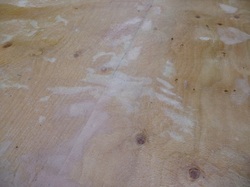
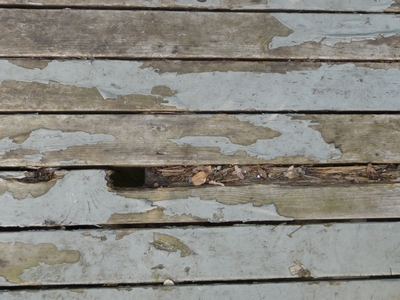
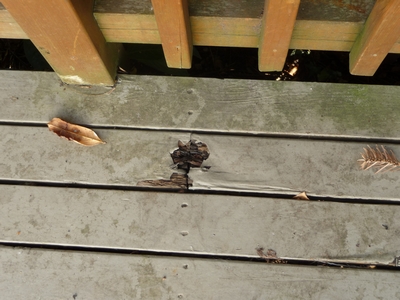
Gel coat is where you get to see if all you sanding and patching paid off with a beautiful deck!  My result?  I have a few issue to touch up (some spiky bits) and some less than pristine areas that were patched.  But overall the deck is flat, smooth (with some smooth lumps if that makes sense) and solid.

So here are the pictures:
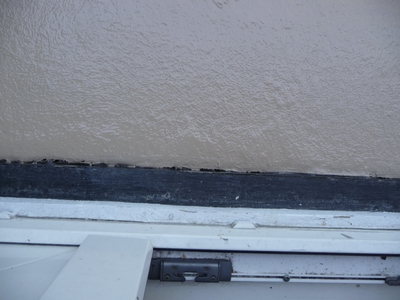
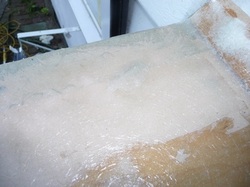
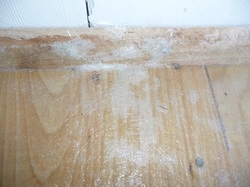
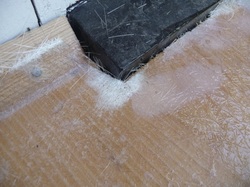
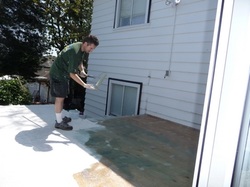
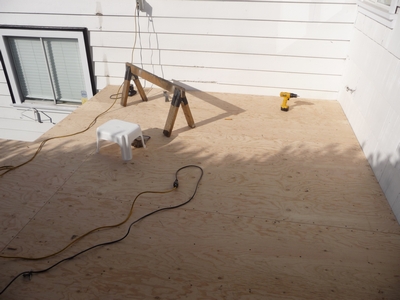
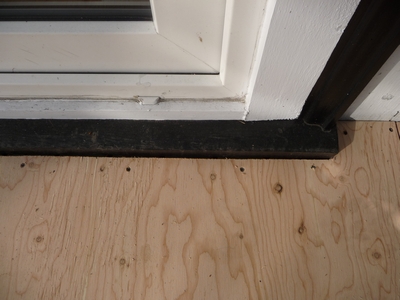
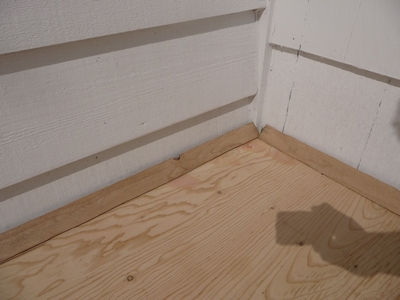
Above is the transition to the door.  I’ll have to caulk this part.

Next:  Final Issues and thoughts and Attaching a Railing to a Fiberglass Deck.  Hopefully I’ll get to that this weekend.

Fiberglassing My Deck Part 5

5/29/2009

 
OK,  After the patching I had a night of rain, this was actually a good thing as it gave me another day to lose the itch and rest my back… It was also a good thing because it allowed me to find the low spot of my deck which is always an issue when you convert a deck with slats to a solid deck.  Slat decks are built level (or close) and solid decks are sloped.  So if you are doing a fiberglass deck over a vinyl deck then you likely won’t need to do this step.

Anyhow, now that I knew where the low spot was I could add a drain there.  I chose a 2″ hole and approx. 3″ drain cover.  Large enough to work but still relatively small.
Once I cut the hole (make sure to check that there are no joists below!) I glassed the inside with some cloth tape.  It would have helped to have a 1″ brush here as the 2″ was too big and I ended up spreading the resin with a gloved finger.

I was still I little worried about the top so I end up doing a little more reinforcement when I did the gelcoat.

Here is the end result (and a preview of the next post):
Picture

Fiberglassing My Deck - Part 4

5/29/2009

 
OK,  now its time to get itchy!  I forgot to ask to get a set of coveralls from the shop and boy did I regret that…

I actually forgot to take any photos of most of the patches I did but then when I was doing one final once over I found a bubble that I had sanded but not patched.

So for bubbles you need to sand out the actual bubble and then taper the hole back about 2 inches all around.  I was a little light on the taper and you do see it on the final layer.  In fact the big thing to remember is that everything will tansfer to the next layer (ie the finished deck) including the mat strands.  So if you are really picky then this is the layer to tackle it.

Anyhow, I’m not that picky.. so here is the bubble repair.
Picture
The bubble sanded out. The surrounding area looks like a bubble because the sander roughs it up.
Picture
The patch and the bubble side by side (I did a little more sanding first).
Picture
The finished patch that will then need to be sanded flush to the surrounding surface.

Basically any bubble or object can be tackled this way.  It is also basically what you do if you need to repair your deck in 15 years.

For ridges you just need to sand it flat.

And then it rained….

Fiberglassing My Deck Part 3 - Issues

5/29/2009

 
After saturating the mat I had a number of issues.  In fact I might have just have made a full list of most issues that can come up on that layer.  (I’ve never said that I am an expert craftsman – I am a just get by DIY’er).

Here they are:
Picture
First a bubble on the cant strip but I was not too worried about that as I am covering it with flashing.  Instead I am taking a shot of a ridge right at the edge of the flashing.  
Picture
Here is a bit of debris from a cherry tree in the yard that is underneath the mat
Picture
Another issue on the cant. After my close call with the resin almost hardening I rushed the rest of the cant and had a few issues.  Again most of them will be covered by the flashing
Picture
A big high ridge that I couldn't get to sit.  Maybe a bubble in the foreground.  Note: I only went after bubbles that were big and solid.  I had some areas with a series of little bubbles (1/8″ diameter to 3/16″ diameter) that were not connected – those I just left.
Picture
An unsaturated corner.  You have to sand it all off and redo it.  This is what will happen if you run out of resin too.
Another Ridge and what I think this is a bubble/ridge combo. Followed by an unsaturated ridge at the edge.  The last one still looked bad after remedial work but luckily was covered by the railing in the end.
Picture
My worst series of bubbles on the deck.

How do you fix them.  Easy! I’ll show you how next time…

Fiberglassing my deck Part 2

5/29/2009

 
OK, the deck is prepped. I mentioned that the next step was to saturate the mat but that is not right. I did do a seal coat of resin first to make the deck waterproof and ensure that I did not have too much resin soaked up by the wood when I did the mat layer.

Unfortunately I did not take any pictures of that layer (it is straight forward and unexciting) and now its time to saturate the mat. This can be a fast and furious step and so I only have the one ‘action’ shot.
Picture
(I’m having an issue with my cheap roller cage here – I should have gotten a new one from the shop – they are much better and it mattered!)

Instead I’ll talk a bit about the process and some ‘if I had to do it again advice’.

1st thing is that I did this deck ½ and half in the midday sun. I always tell people to avoid that but I thought I knew better…. Well the first batch that I used to brush on the can start to gel and I had to very quickly roll it out. Even then it was touch and go as to whether it would spread. I guess I JUST made it. I can’t describe the mess it would have been if it had kicked on me.

After that we toned down the catalyst (Dennis was mixing for me) and we were OK for the rest of the deck (including the areas in the sun). What it did do was cause me to have a rush rush mentality for most of the rest of the deck.
One thing that I noted is that our mat is made of 2 layers and you can get air bubbles either against the wood or in between the two layers. It also caused a bit of a resin trap where I did my honey pours (pouring the resin on the deck before spreading it around). If I had to do it again I’d try and rig something up to get a wider, thinner spread on the pours, it may help to pour it out right above the deck rather than from 2′ high. I’m still not sure what would be best.

Anyhow, on to the process:
First, remember to sweep the deck before you layout the cut and fit pieces of mat or any junk that has fallen down under the mat will make a bubble. I could have swept a little later (or again) and I might have saved about 4-5 bubbles.

Second, Layout the mat. Try not to step on the mat and the now tacky deck as you will pull up some fibers and move the mat around if you do.

Third, Mix a very weakly catalyzed batch of resin and do the cant strip and anywhere the roller will not reach.
Fourth, start rolling. Make sure your helper is keeping tracking of how far the resin is going. A quick rule is to divide the deck in half or quarters and make sure that ¼ of the resin is doing slightly more that ¼ of the deck. You should have extra the resin should go a bit further.

Bubbles. In theory you can roll out bubbles or cut a pin hole to get them out. In practice I found that with the long roller handle I tended to be too far away to do that. If I had to do it again I would definitely get a bubble buster roller to have handy. It would have saved me a ton of time and itchiness (more on that later).

Overall, you just have to keep moving. You do what you can to the bubbles, ridges and and crap underneath but at some point you have to give up on some of them and continue on and deal with it afterwards.

I sure did…. More on that next entry.

Fiberglassing my deck Part 1

5/29/2009

 
Well its finally time! I have started to Fiberglass my own deck. I started with an old 2×4 (maybe treated) deck that had been painted multiple times. The last layer of paint was put down by me and I sanded and primed and scraped and then it started to peel the next spring.

Who needs that!

So at that point I knew I needed to go fiberglass (or composite but it was too expensive). In the meantime the family grew from 2 to 4 so I only got to it this year. Here are a couple of shots of the old deck (and my helpers).
I started by removing the railing (I was not planning to re-use it) and then laid down new 5/8th tongue and groove plywood over the 2×4 deck, trimming off 1 run of 2×4′s that extended past the edge of the deck. You can use thinner plywood if you like but the thicker stuff helps mask any bumps and dips from the original deck
Next, I nailed on the flashing and the cant strip and filled in the screw holes with autobody filler. I did the screws about 5-6 inches apart on the edges and then about 12-15 spaced out on the rest of the sheet. One thing that I tried was adding a little liquid resin to thin down the filler slightly. This allowed a smoother spread along the edge of the flashing. I did the screw holes with un-thinned filler.


After that we laid out the mat and set it aside as we waited for the filler to harden up fully (its no fun trying to sand filler before its rock hard).  The filler was hard enough not to stick to the mat but just not ready to sand yet.


Then we sanded the filler, touched up some missed spots and got ready to layout the mat and saturate it with resin.  Dennis (my father) likes to use a paint scraper to knock off high spots.  I used a sander with a drywall screen 150 grit but I could have gone coarser – its all I had at that time.  Basically any lumps and bumps will either print though to the mat layer or worse, cause an air bubble so take you time to get it level (little divits in the filler are usually OK as the resin will fill them in).
Picture
I’ll cover the saturating in the next entry…

    About Graham

    Graham is one of the 2 owners at PlasticWorks and is the relative newbie, having only been involved since 2005. He is the twin brother of the other owner, Greg

    Archives

    November 2023
    July 2023
    March 2023
    March 2021
    May 2020
    March 2020
    April 2013
    March 2013
    November 2012
    June 2009
    May 2009
    February 2009
    December 2008
    March 2008
    November 2007
    October 2007
    July 2007
    June 2007

    Categories

    All

    RSS Feed

Need it Shipped?

We ship sheet goods and fabricated products all over the lower mainland and southern BC.  As well, we ship our brochure holders and Velcro® Brand products all over Canada.  If you can't make it in, give us a call and we'll work out a great shipping price to get what you need to you when you need it.